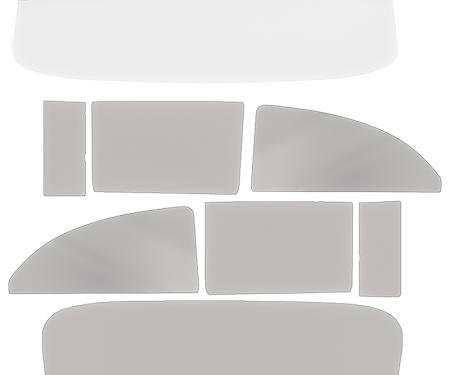
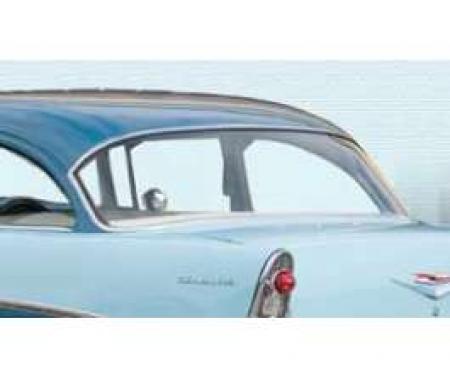
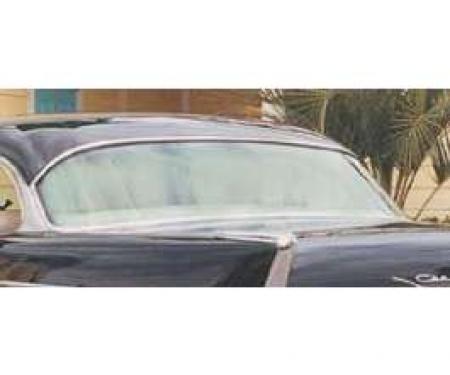
A large tempered clear rear window glass designed to replace cracked, pitted, or missing rear windows. The 1037 T CLN pane provides reliable sealing, clear visibility, and increased impact resistance thanks to tempered construction. Engineered for replacement and restoration projects, it helps protect the cabin from weather and road noise while restoring rear sightlines and vehicle appearance. Durable and easy to handle with proper tools, this glass is suitable for technicians and experienced DIYers performing rear glass replacement.
Features:
- Tempered clear large rear window glass, model 1037 T CLN.
- Tempered construction for increased strength and shatter-safety.
- Restores rear visibility and seals the cabin against weather and road noise.
- Replacement-grade glass for restoration and maintenance projects.
- Sized and shaped for easy fitment when matched to correct vehicle application.
- Compatible with standard urethane adhesive installation methods.
Installation / Application:
- Difficulty: 3/5
- Estimated time: 1–2 hours (plus 24 hours full adhesive cure)
Instructions:
- Park vehicle on a level surface and wear safety gear.
- Remove interior trim and exterior molding around the rear glass using trim tools; retain fasteners and clips.
- Carefully remove remaining old glass and clean the pinch weld of glass, old adhesive, and debris with a razor blade and solvent.
- Inspect the pinch weld for rust or damage; repair and prime bare metal as needed to ensure a good seal.
- Apply primer to the pinch weld and to the glass bonding flange per adhesive manufacturer instructions; allow recommended flash time.
- Load urethane adhesive into the caulking gun and apply a continuous, even bead to the pinch weld or glass flange according to adhesive guidelines.
- Using suction cups, position the new glass (1037 T CLN) into place and press firmly to seat into the adhesive bead; confirm even alignment and full contact around the perimeter.
- Reinstall molding and trim, securing clips and fasteners. Use masking tape to hold trim in place if needed until initial adhesive tack.
- Allow adhesive to set until initial handling strength (follow adhesive instructions); avoid driving until minimum safe drive-away time, and wait 24 hours for full cure.
- Check for leaks after cure by gently spraying water and inspect interior for moisture; adjust or reseal if necessary.
About Precision Replacement Parts
Since 1986 Precision Replacement Parts has been a trusted name in the Automotive Glass Industry.
Our knowledge and experience in manufacturing millions of extruded and molded EPDM Rubber, PVC and HDPE based plastics, and various stamped and extruded metal products for the classic and late model industries has allowed Precision to expand our services into multiple product markets.
Along with our own USA based production facility, Precision also partners with 25 different manufactures worldwide with a reputation as a global leader supplying OEM and replacement products to a number of different industries. Our partnerships along with our own in-house manufacturing and fabrication capability gives Precision a unique position in helping to meet the expanding needs of customers everywhere, providing them with a sustained competitive advantage.

Vehicle Fitment:
The Vehicle Fitment Guide is to be used as a general reference. The data has been provided by our suppliers and manufacturers and may contain errors or incorrect data. Always refer to a professional to verify correct fitment for your vehicle.
| Make |
Model |
Years |
| Chevrolet |
C10 Pickup |
1960 - 1966 |
| Chevrolet |
C20 Pickup |
1960 - 1966 |
| Chevrolet |
C30 Pickup |
1960 - 1966 |
| Chevrolet |
C40 |
1960 - 1962 |
| Chevrolet |
C50 |
1960 - 1966 |
| Chevrolet |
K10 Pickup |
1960 - 1966 |
| Chevrolet |
K20 Pickup |
1960 - 1966 |
| GMC |
1000 Series |
1960 - 1965 |
| GMC |
1000 |
1966 |
| GMC |
1500 Series |
1960 - 1965 |
| GMC |
1500 |
1966 |
| GMC |
2500 Series |
1960 - 1965 |
| GMC |
2500 |
1966 |
| GMC |
K1000 Pickup |
1966 |
| GMC |
K1000 |
1966 |
| GMC |
K15/K1500 Pickup |
1966 |