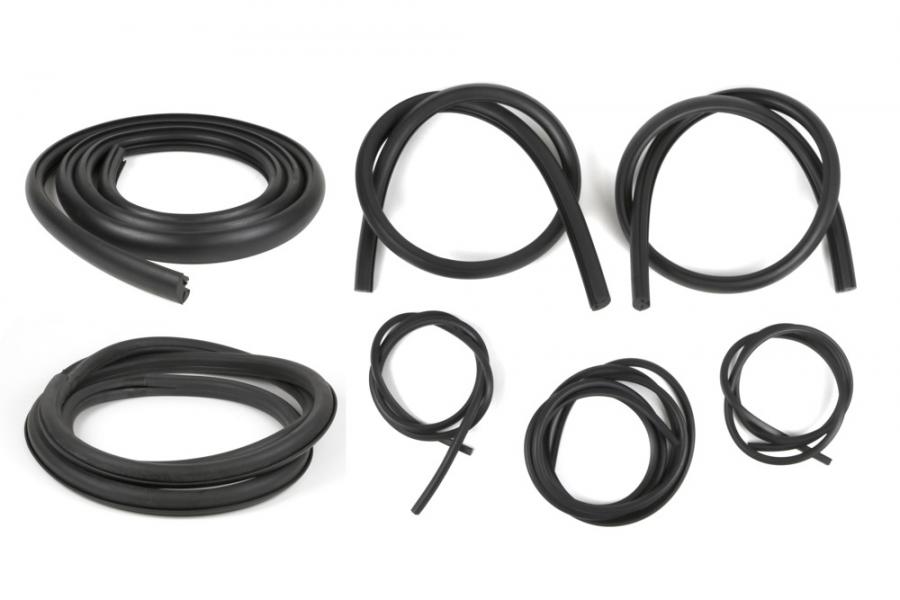
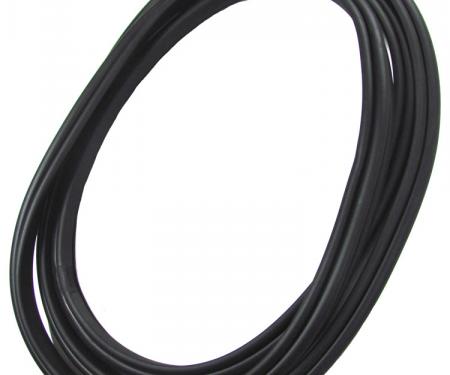
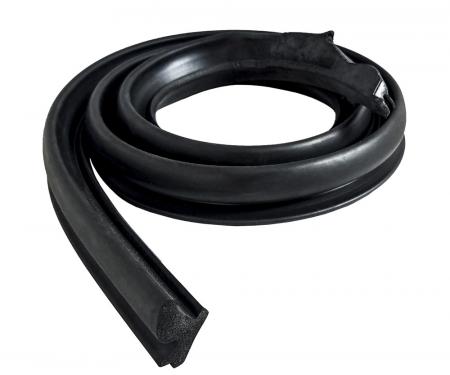
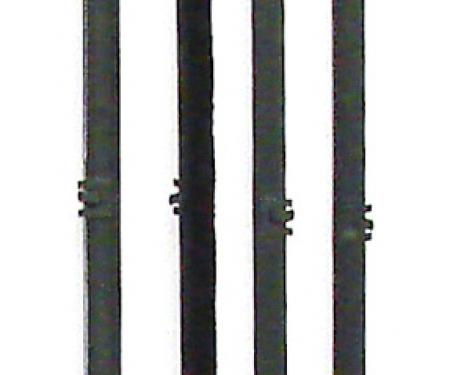
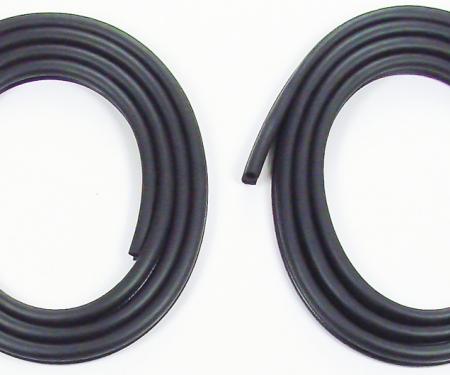
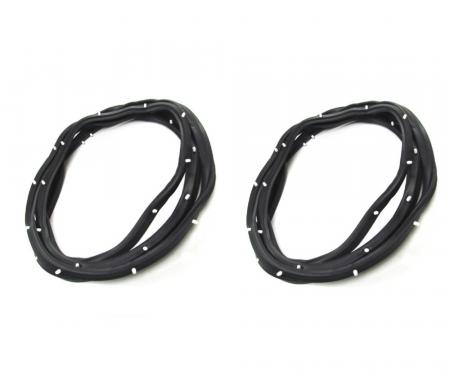
Complete weatherstrip seal kit designed for 1st Series models without a weatherstrip trim groove (CWK 1112 54). This kit supplies the primary rubber seals and cab windlace needed to restore a watertight, quiet cab by replacing hardened or missing weatherstrip. Engineered for durability and long-term pliability, the kit makes it easier to stop water leaks, wind noise, and vibration while improving overall fit and appearance during restoration or maintenance.
Features:
- Fitment: 1st Series models without a weatherstrip trim groove (CWK 1112 54).
- Complete cab weatherseal solution that includes cab windlace for proper windshield/bulkhead finishing.
- High-quality flexible rubber formulated to resist weathering, cracking, and shrinkage.
- Designed to seal gaps, prevent water intrusion and reduce wind noise and vibration.
- Easy to trim and install; suitable for restoration projects and routine replacement.
Installation / Application:
- Difficulty: 3/5
- Estimated time: 2–4 hours (depending on experience and vehicle condition)
Instructions:
- Prepare the vehicle: park on a level surface, open doors, and remove any interior trim or molding that interferes with access to the old seals.
- Remove old weatherstrip: gently pry out the old seals and windlace using trim tools and screwdrivers. Take care around painted surfaces to avoid damage.
- Clean mounting surfaces: remove all old adhesive, dirt, and seal remnants. Use rubbing alcohol or an adhesive cleaner and a clean cloth to ensure a dry, oil-free surface.
- Test-fit new pieces: lay out each new seal and the cab windlace to confirm placement and length. Trim as needed, ensuring overlaps where required.
- Apply adhesive where recommended: follow the adhesive manufacturer’s instructions. Apply a thin bead of weatherstrip cement to the vehicle flange and/or seal as directed.
- Install seals: press the new weatherstrip into place, starting at one end and working to the other. For models without a trim groove, ensure the seal seats firmly against the body flange and is properly aligned.
- Install cab windlace: feed the windlace into the windshield/bulkhead channel or over the lip as required, trimming ends and tucking neatly for a finished appearance.
- Secure corners and ends: use a rubber mallet or firm hand pressure to seat corners and terminals. Make sure any overlaps are tight and adhesive has full contact.
- Allow adhesive to cure: close doors only after the recommended cure time from the adhesive manufacturer. Avoid exposing the seals to moisture during cure.
- Reinstall trim: replace any removed interior trim, molding, or hardware and perform a final inspection for gaps, alignment, and sealing performance.
About Precision Replacement Parts
Since 1986 Precision Replacement Parts has been a trusted name in the Automotive Glass Industry.
Our knowledge and experience in manufacturing millions of extruded and molded EPDM Rubber, PVC and HDPE based plastics, and various stamped and extruded metal products for the classic and late model industries has allowed Precision to expand our services into multiple product markets.
Along with our own USA based production facility, Precision also partners with 25 different manufactures worldwide with a reputation as a global leader supplying OEM and replacement products to a number of different industries. Our partnerships along with our own in-house manufacturing and fabrication capability gives Precision a unique position in helping to meet the expanding needs of customers everywhere, providing them with a sustained competitive advantage.

Vehicle Fitment:
The Vehicle Fitment Guide is to be used as a general reference. The data has been provided by our suppliers and manufacturers and may contain errors or incorrect data. Always refer to a professional to verify correct fitment for your vehicle.
| Make |
Model |
Years |
| Chevrolet |
Truck |
1954 - 1955 |
| GMC |
Truck |
1954 - 1955 |