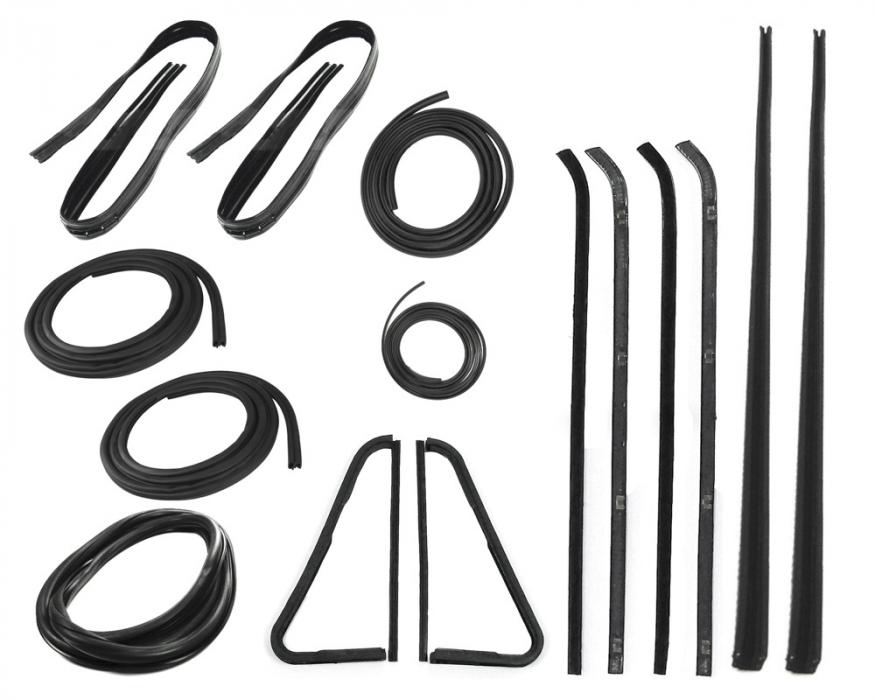
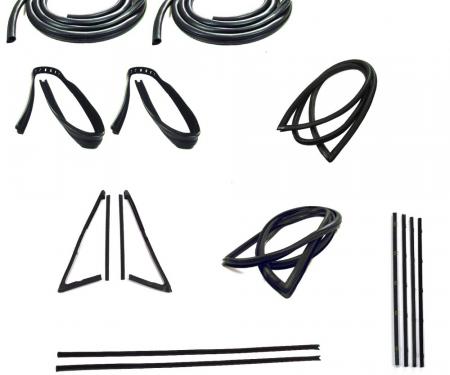
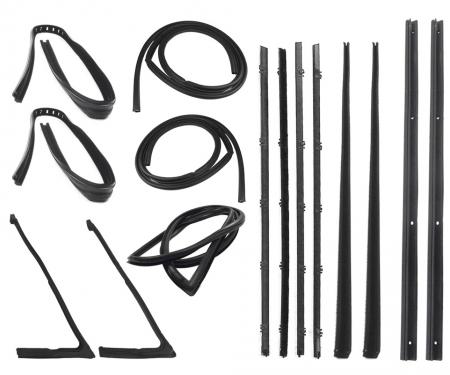
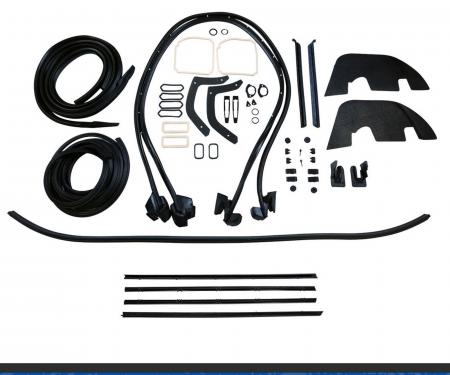
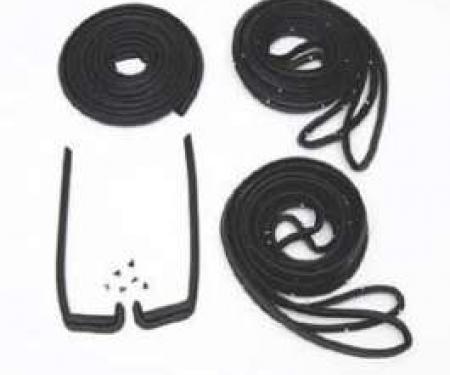
A complete push-on weatherstrip seal kit engineered for vehicles that do not have a weatherstrip trim groove. This kit provides a direct-fit, OEM-style solution to seal door edges and openings, preventing water intrusion, reducing wind noise, and protecting interior trim from wear. Constructed from weather-resistant rubber with a reinforced retainer for secure, long-lasting attachment, the CWK 1111 64 PDS kit streamlines restoration and maintenance by offering reliable, easy-to-install components that restore proper sealing performance.
Features:
- Designed for vehicles without a weatherstrip trim groove — push-on application for door openings.
- High-quality, weather-resistant rubber formulation resists UV, ozone, and temperature extremes.
- Reinforced retainer provides a secure, vibration-resistant grip on the door flange.
- Push-on design eliminates the need for adhesive, trim clips, or complex modification.
- Restoration-ready: OEM-style profile restores factory fit, stops water leaks and reduces wind noise.
- Durable construction provides long-term reliability for maintenance or restoration projects.
Installation / Application:
- Difficulty: 2/5
- Estimated time: 30-60 minutes (per door pair / full set depending on vehicle)
Instructions:
- Remove the old weatherstrip: carefully peel off the existing seal and remove any retained clips or adhesive residue.
- Clean the mounting flange: wipe the door flange and mating surfaces with rubbing alcohol or mild cleaner and a lint-free cloth; allow to dry.
- Test-fit the new seal: align the push-on seal along the door flange to confirm fit and determine where trimming may be required.
- Trim to length: if needed, cut the seal to the proper length using a utility knife or scissors, leaving a small overlap for corners.
- Lubricate the channel (optional): apply soapy water or a light silicone spray to the flange or inside the seal channel to ease installation.
- Seat the seal: starting at one end, press the seal onto the flange, working in short sections. Use a rubber mallet or block of wood to gently tap the seal fully onto the flange where necessary.
- Check corners and overlaps: ensure corners are snug and any joints are butted or slightly overlapped to prevent gaps.
- Inspect and test: close the door and check for proper alignment, even compression, and any gaps. Perform a water or leak test if desired and re-adjust as needed.
About Precision Replacement Parts
Since 1986 Precision Replacement Parts has been a trusted name in the Automotive Glass Industry.
Our knowledge and experience in manufacturing millions of extruded and molded EPDM Rubber, PVC and HDPE based plastics, and various stamped and extruded metal products for the classic and late model industries has allowed Precision to expand our services into multiple product markets.
Along with our own USA based production facility, Precision also partners with 25 different manufactures worldwide with a reputation as a global leader supplying OEM and replacement products to a number of different industries. Our partnerships along with our own in-house manufacturing and fabrication capability gives Precision a unique position in helping to meet the expanding needs of customers everywhere, providing them with a sustained competitive advantage.

Vehicle Fitment:
The Vehicle Fitment Guide is to be used as a general reference. The data has been provided by our suppliers and manufacturers and may contain errors or incorrect data. Always refer to a professional to verify correct fitment for your vehicle.
| Make |
Model |
Years |
| Chevrolet |
C10 Pickup |
1964 - 1966 |
| Chevrolet |
C20 Pickup |
1964 - 1966 |
| Chevrolet |
C30 Pickup |
1964 - 1966 |
| Chevrolet |
C50 |
1964 - 1966 |
| Chevrolet |
K10 Pickup |
1964 - 1966 |
| Chevrolet |
K20 Pickup |
1964 - 1966 |
| GMC |
1000 Series |
1964 - 1965 |
| GMC |
1000 |
1966 |
| GMC |
1500 Series |
1964 - 1965 |
| GMC |
1500 |
1966 |
| GMC |
2500 Series |
1964 - 1965 |
| GMC |
2500 |
1966 |
| GMC |
K1000 Pickup |
1966 |
| GMC |
K1000 |
1966 |
| GMC |
K15/K1500 Pickup |
1966 |