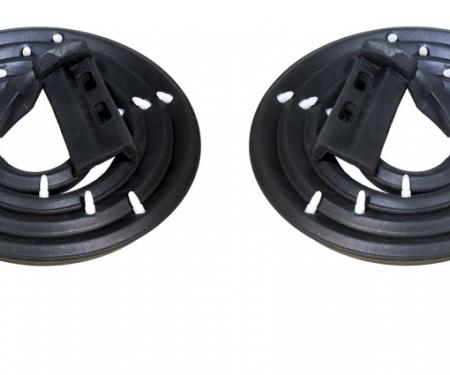
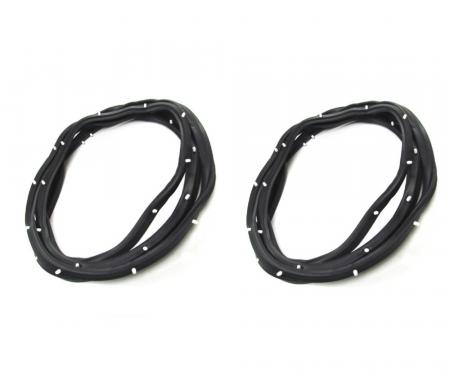
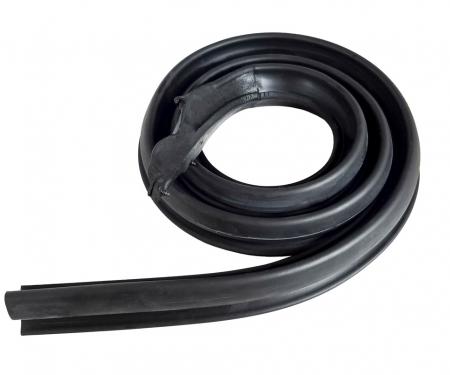
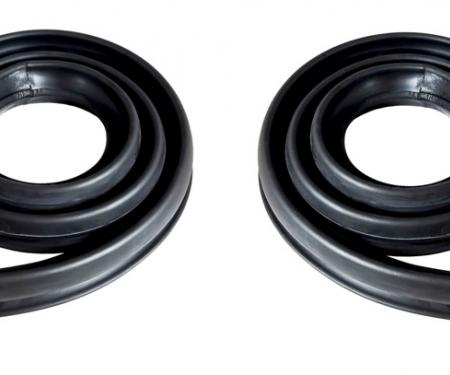
A two-piece left and right door weatherstrip seal kit designed to restore a tight, factory-style seal on 1967 door openings. These precision-molded seals stop water intrusion, cut wind noise, and protect interior trim and paint from wear. Durable, flexible rubber construction resists compression set and ozone aging, delivering long-term reliability while being straightforward to install during a restoration or maintenance project.
Features:
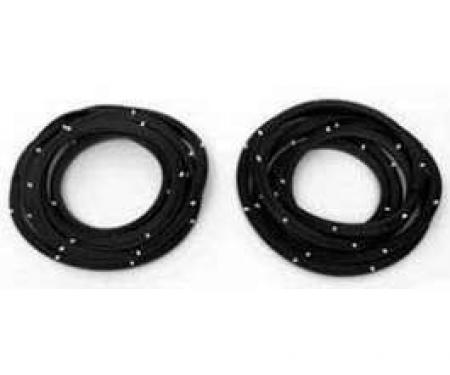
- Fits 1967 vehicle door openings — left and right hand, 2-piece kit (verify door channel profile for exact match).
- Molded rubber compound resists cracking, shrinking, and ozone damage for long-lasting sealing performance.
- Restores factory fitment to prevent water leaks, wind noise, and interior moisture damage.
- Simple direct-replacement design for restoration projects or routine maintenance.
- Flexible profile compresses for a secure seal while maintaining easy door operation.
- Supplied as a complete left/right set to ensure matched compression and consistent appearance.
Installation / Application:
- Difficulty: 2/5
- Estimated time: 30-60 minutes
Instructions:
- Park on a level surface and open the door to expose the full door channel.
- Remove the old weatherstrip: gently pry out retaining beads or clips with a trim tool; if necessary remove the door panel to access fasteners.
- Clean the mounting channel thoroughly with isopropyl alcohol or a suitable solvent to remove adhesive residue, dirt, and old sealant. Allow to dry completely.
- Test-fit each new seal to confirm orientation (left vs. right) and that the profile matches the channel length—trim excess if required.
- Apply a thin, even bead of automotive weatherstrip adhesive into the channel or to the seal bead per adhesive manufacturer instructions.
- Starting at the top corner, press the seal bead into the channel and work your way around the door, ensuring the sealing lip seats evenly without twists or kinks.
- Use masking tape or spring clamps to hold the seal in place while the adhesive sets; do not fully close the door until initial tack time is reached.
- Trim any excess material with a utility knife for a neat fit and tap lightly with a rubber mallet if needed to fully seat the bead.
- Allow the adhesive to cure according to the adhesive manufacturer’s recommendations before normal use (typically several hours). Reinstall any removed trim or panels.
About Precision Replacement Parts
Since 1986 Precision Replacement Parts has been a trusted name in the Automotive Glass Industry.
Our knowledge and experience in manufacturing millions of extruded and molded EPDM Rubber, PVC and HDPE based plastics, and various stamped and extruded metal products for the classic and late model industries has allowed Precision to expand our services into multiple product markets.
Along with our own USA based production facility, Precision also partners with 25 different manufactures worldwide with a reputation as a global leader supplying OEM and replacement products to a number of different industries. Our partnerships along with our own in-house manufacturing and fabrication capability gives Precision a unique position in helping to meet the expanding needs of customers everywhere, providing them with a sustained competitive advantage.

Vehicle Fitment:
The Vehicle Fitment Guide is to be used as a general reference. The data has been provided by our suppliers and manufacturers and may contain errors or incorrect data. Always refer to a professional to verify correct fitment for your vehicle.
| Make |
Model |
Years |
| Chevrolet |
C10 Suburban |
1967 - 1972 |
| Chevrolet |
C20 Suburban |
1967 - 1972 |
| Chevrolet |
K10 Suburban |
1967 - 1972 |
| Chevrolet |
K20 Suburban |
1967 - 1972 |
| GMC |
C15/C1500 Suburban |
1968 - 1972 |
| GMC |
C25/C2500 Suburban |
1968 - 1972 |
| GMC |
K15/K1500 Suburban |
1967 - 1972 |
| GMC |
K25/K2500 Suburban |
1968 - 1972 |