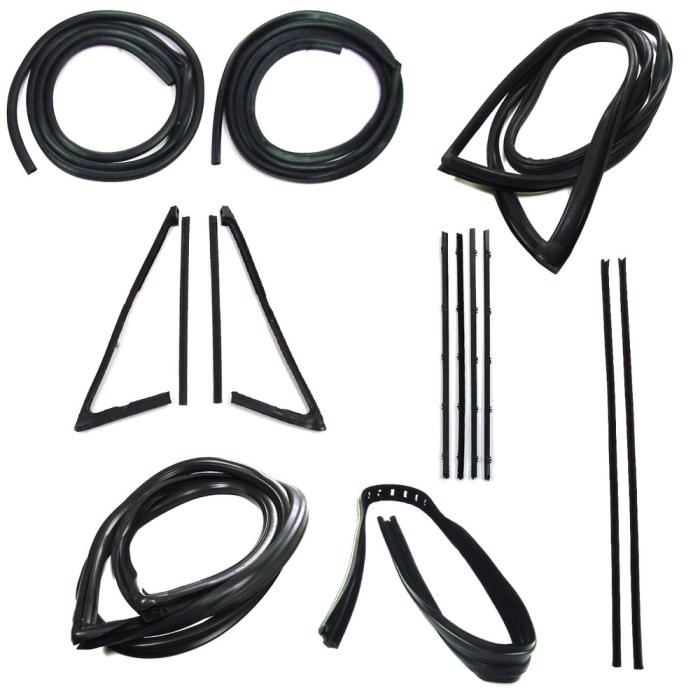
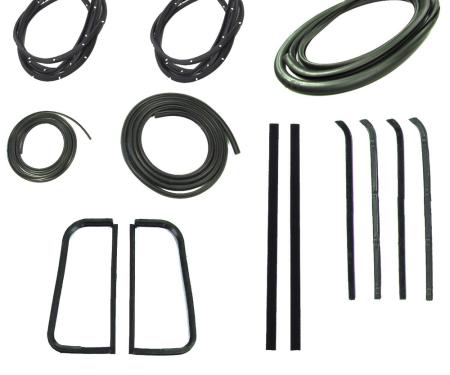
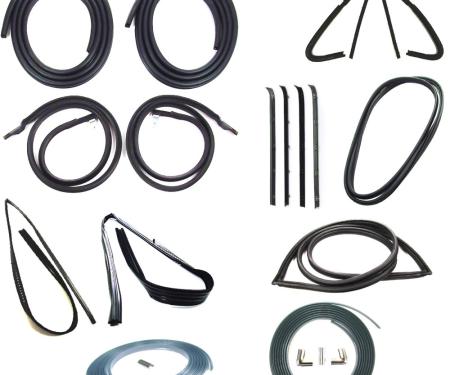
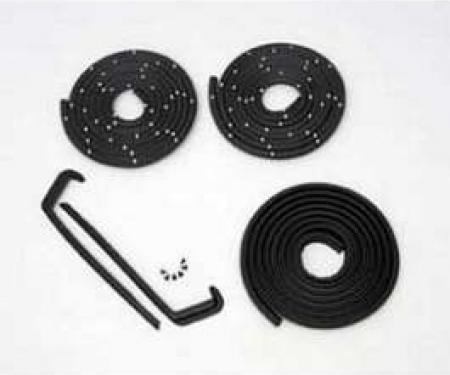
A complete weatherstrip seal kit engineered for models with a weatherstrip trim groove, large rear window and black beltlines (’67 fitment). This kit restores the factory sealing surface, secures trim, and prevents water intrusion and wind noise at the rear window area. Constructed from durable, weather-resistant materials for long-term reliability, the seal is designed for straightforward installation and is ideal for restoration projects or replacing aged, cracked rubber to return fit and function to original specifications.
Features:
- Fits 1967 models with a large rear window and black beltlines equipped with a weatherstrip trim groove.
- Durable, weather-resistant rubber construction resists ozone, UV and temperature degradation.
- Designed to seal the trim groove to prevent water leaks, wind noise and interior damage.
- Restores factory fit and appearance for restoration or replacement applications.
- Direct-fit profile for easier installation and reliable long-term performance.
Installation / Application:
- Difficulty: 2/5
- Estimated time: 60-90 minutes
Instructions:
- Carefully remove the existing weatherstrip and any attached trim pieces using a trim removal tool or flat blade screwdriver to avoid damaging the metal or glass.
- Clean the trim groove and surrounding flange thoroughly with isopropyl alcohol or an appropriate surface cleaner; remove old adhesive, dirt and rust to ensure a solid bond.
- Dry-fit the new weatherstrip along the groove to verify orientation and length; trim excess if necessary, leaving a small overlap at the joints where specified.
- Apply an even bead of automotive weatherstrip adhesive to the groove or mating surface per the adhesive manufacturer’s directions; apply only where adhesive is recommended.
- Press the new weatherstrip into the groove starting at one end and working around the perimeter, ensuring the trim lip seats fully into the groove. Use a rubber mallet or soft-faced hammer gently if needed.
- Use masking tape to hold sections in place while adhesive tacks up, and smooth the seal to eliminate twists or pinched areas. Heat the rubber lightly in cold conditions to improve flexibility and fit.
- Allow adhesive to cure for the time specified by the adhesive manufacturer before removing tape or testing for leaks. Reinstall any trim pieces removed during disassembly and inspect the final fit for uniform compression and sealing.
About Precision Replacement Parts
Since 1986 Precision Replacement Parts has been a trusted name in the Automotive Glass Industry.
Our knowledge and experience in manufacturing millions of extruded and molded EPDM Rubber, PVC and HDPE based plastics, and various stamped and extruded metal products for the classic and late model industries has allowed Precision to expand our services into multiple product markets.
Along with our own USA based production facility, Precision also partners with 25 different manufactures worldwide with a reputation as a global leader supplying OEM and replacement products to a number of different industries. Our partnerships along with our own in-house manufacturing and fabrication capability gives Precision a unique position in helping to meet the expanding needs of customers everywhere, providing them with a sustained competitive advantage.

Vehicle Fitment:
The Vehicle Fitment Guide is to be used as a general reference. The data has been provided by our suppliers and manufacturers and may contain errors or incorrect data. Always refer to a professional to verify correct fitment for your vehicle.
| Make |
Model |
Years |
| Chevrolet |
C10 Pickup |
1967 - 1970 |
| Chevrolet |
C20 Pickup |
1967 - 1970 |
| Chevrolet |
C30 Pickup |
1967 - 1970 |
| Chevrolet |
C50 |
1967 - 1970 |
| Chevrolet |
K10 Pickup |
1967 - 1970 |
| Chevrolet |
K20 Pickup |
1967 - 1970 |
| GMC |
C15/C1500 Pickup |
1967 - 1970 |
| GMC |
C25/C2500 Pickup |
1967 - 1970 |
| GMC |
C35/C3500 Pickup |
1967 - 1970 |
| GMC |
K15/K1500 Pickup |
1967 - 1970 |
| GMC |
K25/K2500 Pickup |
1967 - 1970 |
| GMC |
K35/K3500 Pickup |
1968 - 1970 |