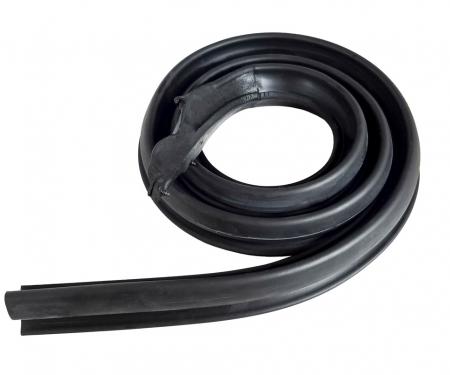
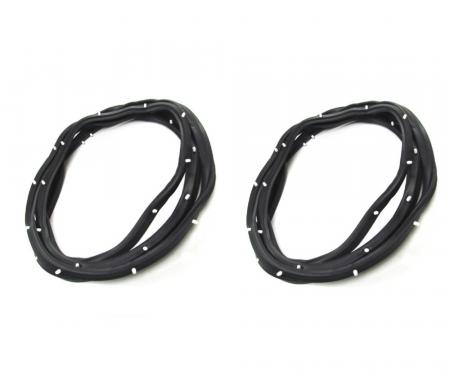
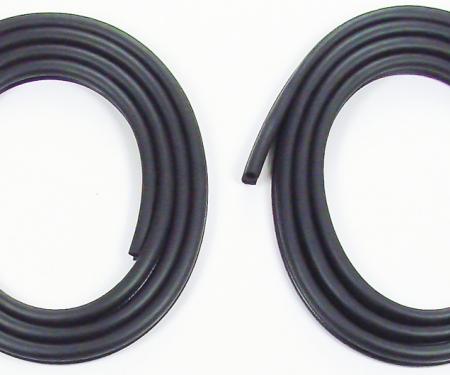
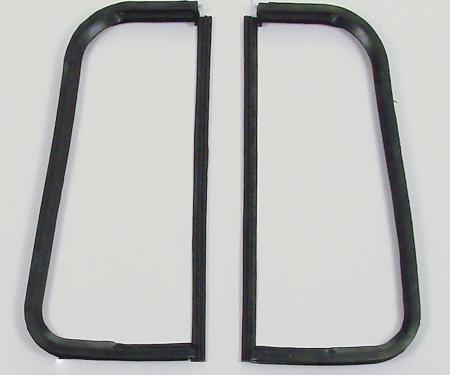
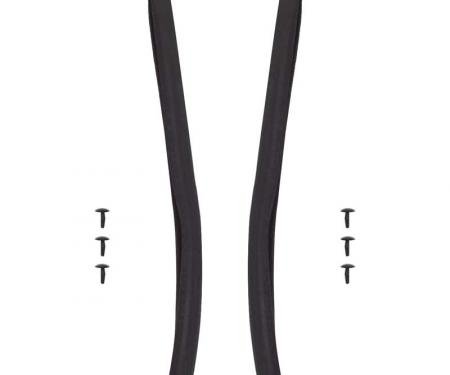
This 8-piece beltline molding and glass run channel kit (left and right hand) for Second Series WFK 1111 55 A applications is a complete restoration set that secures and seals window glass at the beltline. It restores factory fit and finish, reduces wind noise and water intrusion, and protects glass and trim from wear. Made from UV- and ozone-resistant rubber with corrosion-resistant carriers, the kit delivers durable, reliable sealing and straightforward installation for maintenance and restoration projects.
Features:
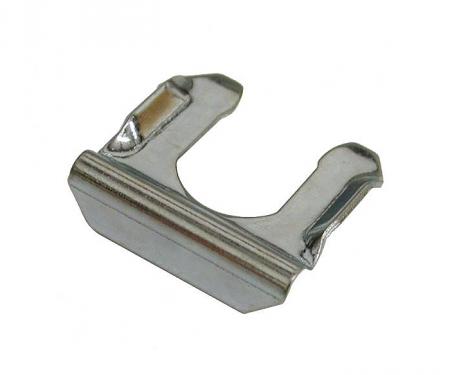
- Complete 8-piece kit includes left- and right-hand beltline moldings and glass run channels for Second Series WFK 1111 55 A applications.
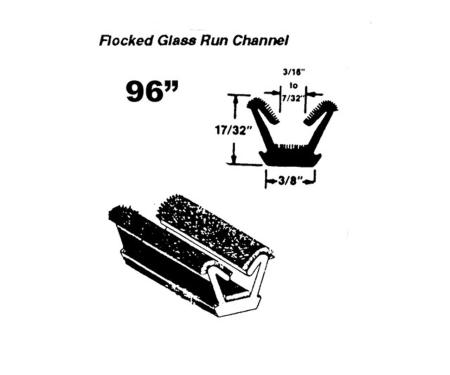
- Durable EPDM-style rubber seals resist UV, ozone, and weathering for long service life.
- Corrosion-resistant metal/carrier components maintain channel shape and support proper glass alignment.
- Restores original window fit and appearance while reducing wind noise and preventing water intrusion.
- Designed for straightforward replacement during door panel service or window regulator repairs.
- Ships ready-to-install — minimal trimming or modification required for most installations.
Installation / Application:
- Difficulty: 2/5
- Estimated time: 1–2 hours
Instructions:
- Park vehicle on level ground, lower window glass (if possible) and disconnect the battery if removing powered components.
- Remove the interior door panel and any water shield carefully to access the glass run channels and beltline area.
- Remove existing beltline molding and glass run channel components: disengage clips, slide out channels, and pull old seals free.
- Clean the mounting surfaces and channel seats with rubbing alcohol or adhesive cleaner; remove all old adhesive, dirt, and debris.
- Test-fit the new channels and moldings to verify left/right orientation and length. Trim only if absolutely necessary.
- Apply a light lubricant (silicone spray or soapy water) to the new glass run channel lips to ease glass movement during installation.
- Insert the new glass run channels into the door frame starting at the top, seating metal carriers into their track and aligning any locating tabs or clips.
- Carefully lower or raise the glass into the channel and confirm smooth travel; adjust channel position as needed for correct glass alignment.
- Press the beltline molding into place along the door edge, ensuring clips (if provided) engage and the molding sits flush against the body.
- Reinstall the water shield and interior door panel, reconnect any electrical connectors, test window operation for smooth, sealed movement, and make any final adjustments.
About Precision Replacement Parts
Since 1986 Precision Replacement Parts has been a trusted name in the Automotive Glass Industry.
Our knowledge and experience in manufacturing millions of extruded and molded EPDM Rubber, PVC and HDPE based plastics, and various stamped and extruded metal products for the classic and late model industries has allowed Precision to expand our services into multiple product markets.
Along with our own USA based production facility, Precision also partners with 25 different manufactures worldwide with a reputation as a global leader supplying OEM and replacement products to a number of different industries. Our partnerships along with our own in-house manufacturing and fabrication capability gives Precision a unique position in helping to meet the expanding needs of customers everywhere, providing them with a sustained competitive advantage.

Vehicle Fitment:
The Vehicle Fitment Guide is to be used as a general reference. The data has been provided by our suppliers and manufacturers and may contain errors or incorrect data. Always refer to a professional to verify correct fitment for your vehicle.
| Make |
Model |
Years |
| Chevrolet |
3100 |
1959 |
| Chevrolet |
3B |
1959 |
| Chevrolet |
3C |
1959 |
| Chevrolet |
3D |
1959 |
| Chevrolet |
3E |
1959 |
| Chevrolet |
3F |
1959 |
| Chevrolet |
3G |
1959 |
| Chevrolet |
Truck |
1955 - 1958 |
| GMC |
Truck |
1955 - 1959 |